How To Treat And Prevent Blisters When Backpacking and Hiking
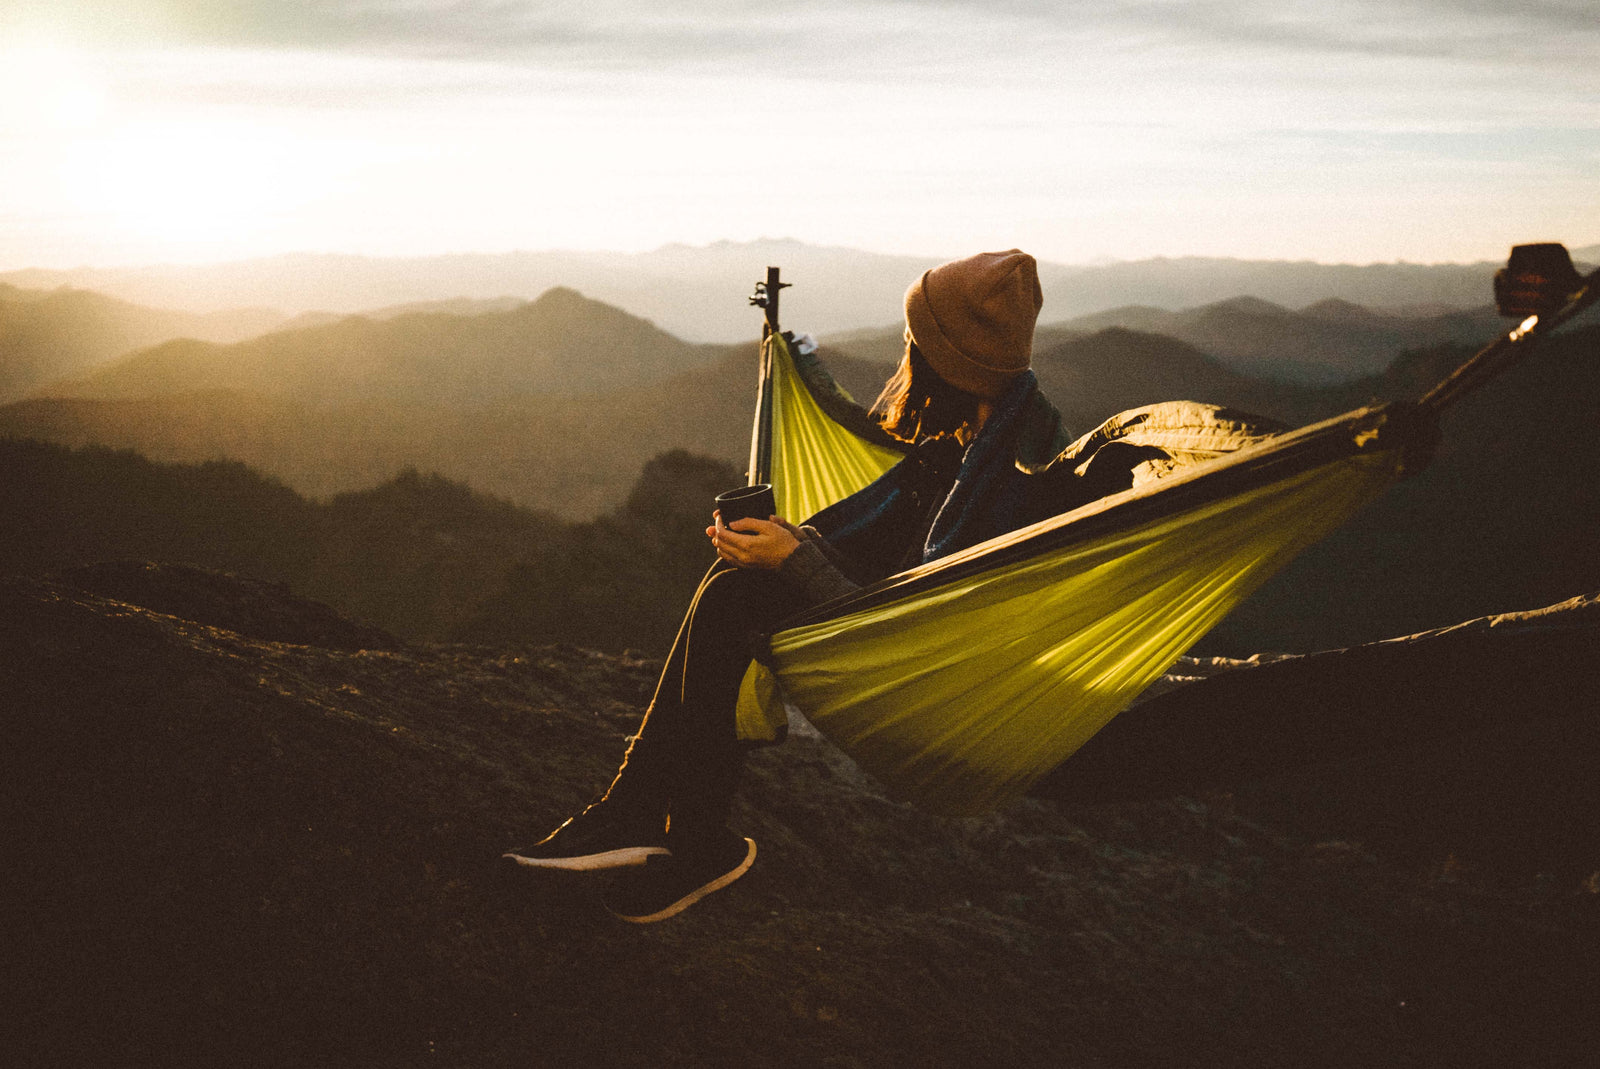
If you are an experienced hiker or backpacker, or are just getting started, a common ailment that strikes most long distance walkers (at one time or another) are blister on the feet. These sores can significantly diminish the joy of exploring the great outdoors. In this article we will discus how to prevent blisters and how to treat them if they occur.
What causes blister on the feet?
In most cases, blisters on your feet are a result of friction. Walking or even standing for hours, puts pressure on the heels, soles, and toes. The longer you’re on your feet, the greater your risk for feet blisters. The cause in many instances, are poorly fitted shoes. Shoes that fit too snugly or too loosely can rub against the skin. The prolonged friction can result in fluid building up underneath the upper layer of skin. Moisture or perspiration can also trigger these skin bubbles. Blisters are common during warm seasons among athletes, particularly runners, hikers and backpackers.
How to prevent blisters on feet
Wearing properly fitted shoes is the first line of defense. If your feet rub along a specific area of your shoe, wearing an insole may provide extra padding and reduce friction. If you’re an athlete, make sure you keep your feet dry. Applying foot powder can reduce sweating, or wearing moisture-wicking socks designed for athletes, can also be very helpful.
Treatments for blisters on feet
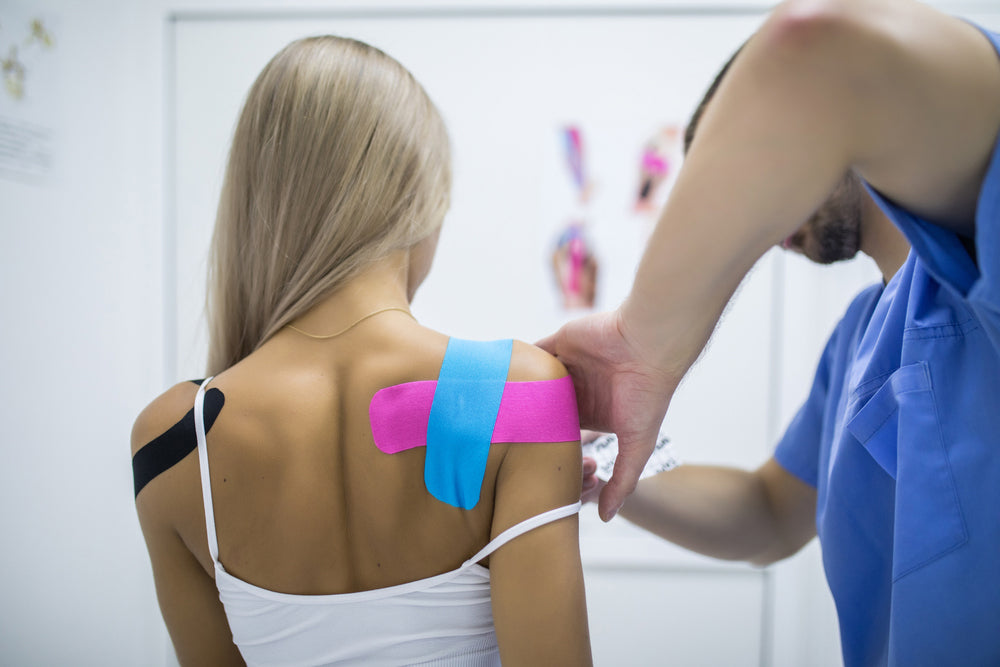
You may be temped to pick at, or burst a blister, but you should leave a blister alone because an open blister can become infected. Covering your blister with an adhesive bandage can help protect your blister while it heals. Over time the blister may eventually harden and disappear. While you shouldn’t burst a blister, safely draining the blister may reduce the pain. Here are steps to properly drain a blister:
- Wash your hands with warm water and antibacterial soap
- Using a cotton swab, disinfect a needle with rubbing alcohol
- Take the needle and make a small puncture in the blister
- Allow fluid to completely drain from the blister
- Apply antibacterial ointment or cream to the blister
- Cover the blister with a bandage or gauze
- Clean and reapply antibacterial ointment daily. Keep the blister covered until it heals
Use of moleskin for blisters
Moleskin has been a go-to prevention method for backpackers and other outdoor enthusiasts. Moleskin is a thin but heavy cotton fabric. It’s soft on one side and has sticky adhesive backing on the other. It’s often applied to the inside of shoes to improve fit or make them more comfortable. You can also use it to protect a blister from irritation. You can find moleskin in most drugstores or on Amazon.
How to use moleskin on a blister
Moleskin is very durable which makes it a good option for protecting blisters in high-friction areas, including your feet. Most bandages that you apply to your feet tend to come off shortly after you put them on. Moleskin is more likely to stay in place. It’s also thicker, which adds more support and cushioning. To use moleskin for blisters follow these easy steps:
- Clean and dry the area around the blister.
- Cut the moleskin about ¾- inch larger than your blister.
- Fold the non-adhesive sides together then cut a half-circle out of the moleskin.
- The half-circle should be roughly half the size of your blister. When you unfold it, you should have a blister-sized hole in the center of the moleskin.
- Remove the backing from the adhesive side and place the moleskin over your blister, aligning your blister with the hole. If your blister sticks out above the moleskin, cut and apply a second layer to make the moleskin thicker.
Keeping your blister surrounded by padding helps to reduce friction and irritation. It also helps to protect the blister from popping, which is usually painful and also increase odds for infection.
Removing moleskin without pain
Moleskin is so effective in part because of the strong adhesive that holds the bandage in place. While the strong adhesive is helpful when you put it on, it can be a pain to remove. In the past, removing moleskin from skin meant painfully ripping it off, or using oils or alcohol-based products to weaken the adhesive. Oils are messy and can stain shoes and socks and the oily residue makes it hard to reapply more moleskin. It can also get into a blister and increase the risk of infection. Alcohol is very drying to skin and the last thing you want when walking long distances is dry irritated skin. Today, more people are depending on all-natural, non-toxic Sting-Less Adhesive Remover to effectively take off moleskin and other bandages. It comes in a small bottle and a few squirts of Sting-Less Adhesive Remover on the bandage makes it easy to remove. Once the bandage comes off, another squirt on the skin can remove any residual adhesive. Then just wipe the area with a bit of soap and water, dry and you are ready to go, or put on another bandage.
So next time you hit the trail make sure you pack some moleskin, a bottle of Sting-Less Adhesive Remover, a pair of clean, dry socks and enjoy the great outdoors.

Leave a comment